Create a service to rotate an image (generic template)
This tutorial shows how to implement a Service in the Swiss AI Center project step by step. The Service is a simple image rotation tool that rotates the image by 90, 180, 270 degrees clockwise depending on the value of the rotation parameter.
Introduction
This tutorial shows how to implement a Service that rotates the image by 90, 180, 270 degrees clockwise depending on the value of the rotation parameter.
Prerequisites
To follow this tutorial, we highly recommend you to follow the Getting started guide first.
It contains all the required tools to follow this tutorial.
Bootstrap the service based on the generic template
In this section, you will bootstrap a new service based on the Create a new service (generic) template.
You have three ways to bootstrap a new service based on the template:
If you are part of the Swiss AI Center GitHub organization, this is the recommended way to bootstrap a new service.
Access the Create a new service (generic) template.
Use the "Use the template" button to create a new repository based on the template in the Swiss AI Center GitHub organization or in your own GitHub account.
For the Repository name, use my-image-rotate-service.
Clone the newly created repository locally.
This will be the root directory of your new service for the rest of this tutorial.
If you are not part of the Swiss AI Center GitHub organization, this is the recommended way to bootstrap a new service.
Fork the Create a new service (generic) template. to fork a new repository based on the chosen template.
For the Repository name, use my-image-rotate-service.
Clone the newly created repository locally.
This will be the root directory of your new service for the rest of this tutorial.
If you do not want to host your codebase on GitHub or if you do not want to be linked to the Swiss AI Center organization, download the Create a new service (generic) template. as an archive file ("Download ZIP") from the GitHub repository and start over locally or in a new Git repository.
Extract the archive and name the directory my-image-rotate-service.
This will be the root directory of your new service for the rest of this tutorial.
Explaining the template
In this section, you will learn about the different files and folders that are part of the template.
README.md
This file contains a checklist of the steps to follow to bootstrap a new service based on the template. This can help you to follow step-by-step what you need to do to bootstrap a new service based on the template.
Other files and folders
The other files and folders contain everything to serve your tool. This is where you will implement to do it over a FastAPI REST API.
Implement the service
Create a virtual environment
Instead of installing the dependencies globally, it is recommended to create a virtual environment.
To create a virtual environment, run the following command inside the project folder:
Then, activate the virtual environment:
Install the dependencies
Warning
Make sure you are in the virtual environment.
Update the requirements.txt file with the following content:
| requirements.txt | |
|---|---|
The common-code package is required to serve the model over a FastAPI REST API and boilerplate code to handle the configuration.
We will also need to install numpy and opencv-python for the service to work.
Install the dependencies as explained in the previous section:
| Execute this in the virtual environment | |
|---|---|
Create a freeze file to pin all dependencies to their current versions:
| Execute this in the virtual environment | |
|---|---|
The specific common-code @ git+https://github.com/swiss-ai-center/common-code.git@<commit> line will conflict with the more general line in requirements.txt due to the explicit commit reference.
From there, you have two options:
- Easier update: Remove the specific
common-code @ git+https://github.com/swiss-ai-center/common-code.git@<commit>line fromrequirements-all.txt. This allows for easier updates of the common-code dependency without adjusting service dependencies. - Consistent dependencies: Remove the generic line in
requirements.txtto keep dependencies consistent across machines and time. This will ensure that the same versions of the dependencies are installed on every machine if you ever share your code with someone else.
Update the template files
Update the README
Open the README.md file and update the title and the description of the Service.
Note
If the service is part of the Swiss AI Center GitHub organization also add a link to the Service's Reference page in the repository README.md file.
Update the pyproject.toml file
| pyproject.toml | |
|---|---|
- Change the name of the project to
image-rotate.
Update the src/main.py file
All the code of the Service is in the main.py file. The Service is a simple image rotation service that rotates the image by 90, 180, 270 degrees clockwise depending on the value of the rotation parameter.
Open the main.py with your favorite editor and follow the instructions below.
| main.py | |
|---|---|
1 2 3 4 5 6 7 8 9 10 11 12 13 14 15 16 17 18 19 20 21 22 23 24 25 26 27 28 29 30 31 32 33 34 35 36 37 38 39 40 41 42 43 44 45 46 47 48 49 50 51 52 53 54 55 56 57 58 59 60 61 62 63 64 65 66 67 68 69 70 71 72 73 74 75 76 77 78 79 80 81 82 83 84 85 86 87 88 89 90 91 92 93 94 95 96 97 98 99 100 101 102 103 104 105 106 107 108 109 110 111 112 113 114 115 116 117 118 119 120 121 122 123 124 125 126 127 128 129 | |
- Import the OpenCV library and the get_extension function from the tasks service. This function is used to guess the extension of the image based on the input type.
- Change the description of the service.
- Change the name and the slug of the service. This is used to identify the service in the Core engine.
- Change the input/output fields of the service. The name of the field is the key of the dictionary that will be used in the process function. The type of the field is the type of the data that will be sent to the service. They are defined in the FieldDescriptionType enum. The tags are used to identify the service in the Core engine. The
has_aivariable is used to identify if the service is an AI service. - Optional: Edit the documentation URL of the service.
- Change the process function. This is the core of the service. The data is a dictionary with the keys being the field names set in the data_in_fields. The result must be a dictionary with the keys being the field names set in the data_out_fields.
- Change the API description and summary. The description is a markdown string that will be displayed in the API documentation. The summary is a short description of the API.
- Change the API title, version, contact and license.
Note
The process function TaskData object must be serializable.
Note
The input and output data of the process function are bytes. Depending on the wanted type of the data, you might need to convert the data to the expected type.
Update the Dockerfile and development.Dockerfile files
Update the Dockerfiles to install all required packages that might be required by the model and the model itself:
| Dockerfile | |
|---|---|
- Add any additional packages required to run your model.
| development.Dockerfile | |
|---|---|
- Add any additional packages required to run your model.
Start the service
Tip
Start the Core engine as mentioned in the Getting started guide for this step.
Start the service with the following command:
Start the service with the following command:
| Execute this in the virtual environment | |
|---|---|
Warning
The above Uvicorn command tests service registration but lacks access to the core-engine database in Docker.
For full testing, start with Docker or run the database outside Docker.
Selecting the IP port for the service
Each service should be made available on a different port that is not in use.
If you followed the previous tutorial to start the core engine, port 9090 should already be in use by the dummy average-shade-service service. In that case, you can use a different port number, or alternatively shut down the running service and reset the database that recorded the port entry by removing the backend/core-engine.db file.
The service should try to announce itself to the Core engine.
It will then be available at http://localhost:9090.
Access the Core engine either at http://localhost:3000 (Frontend UI) or http://localhost:9090 (Backend UI).
The service should be listed in the Services section.
Test the service
Tip
Start the Core engine as mentioned in the Getting started guide for this step.
Create a file called rotation.txt and add the following content:
There are two ways to test the service:
Access the Core engine at http://localhost:3000.

Now you can test the Service by clicking the View button. Now upload an image and the rotation file and click on the Run button.
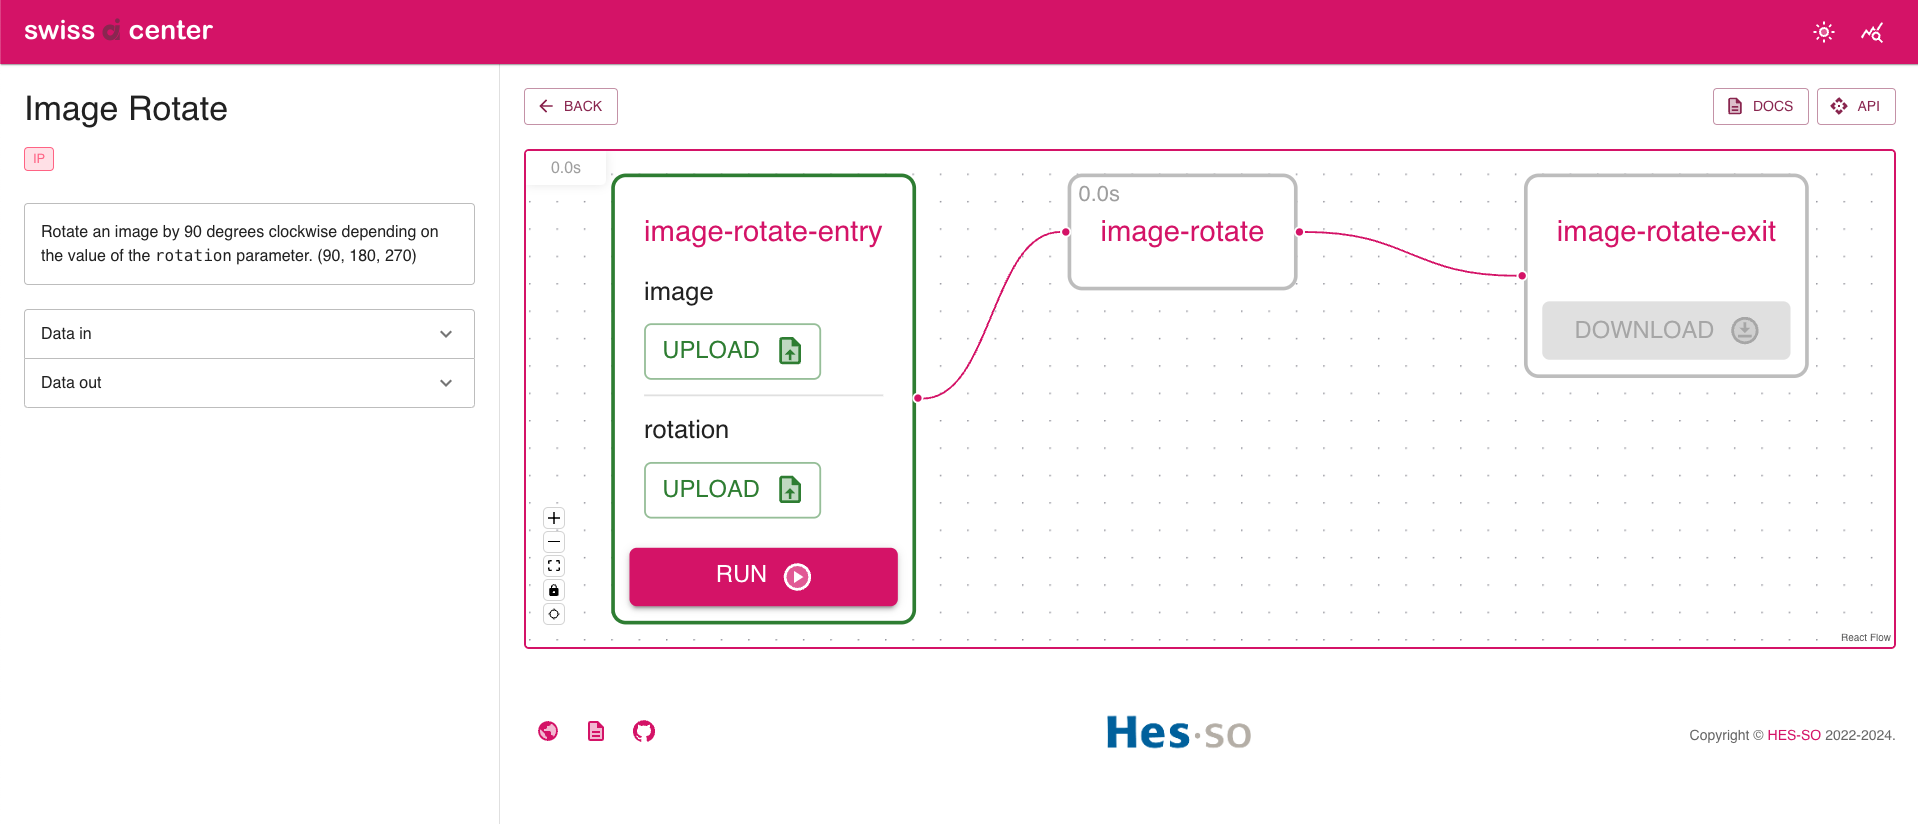
The execution should start and as soon as it is finished, the Download button should be clickable. Use it to download the result.
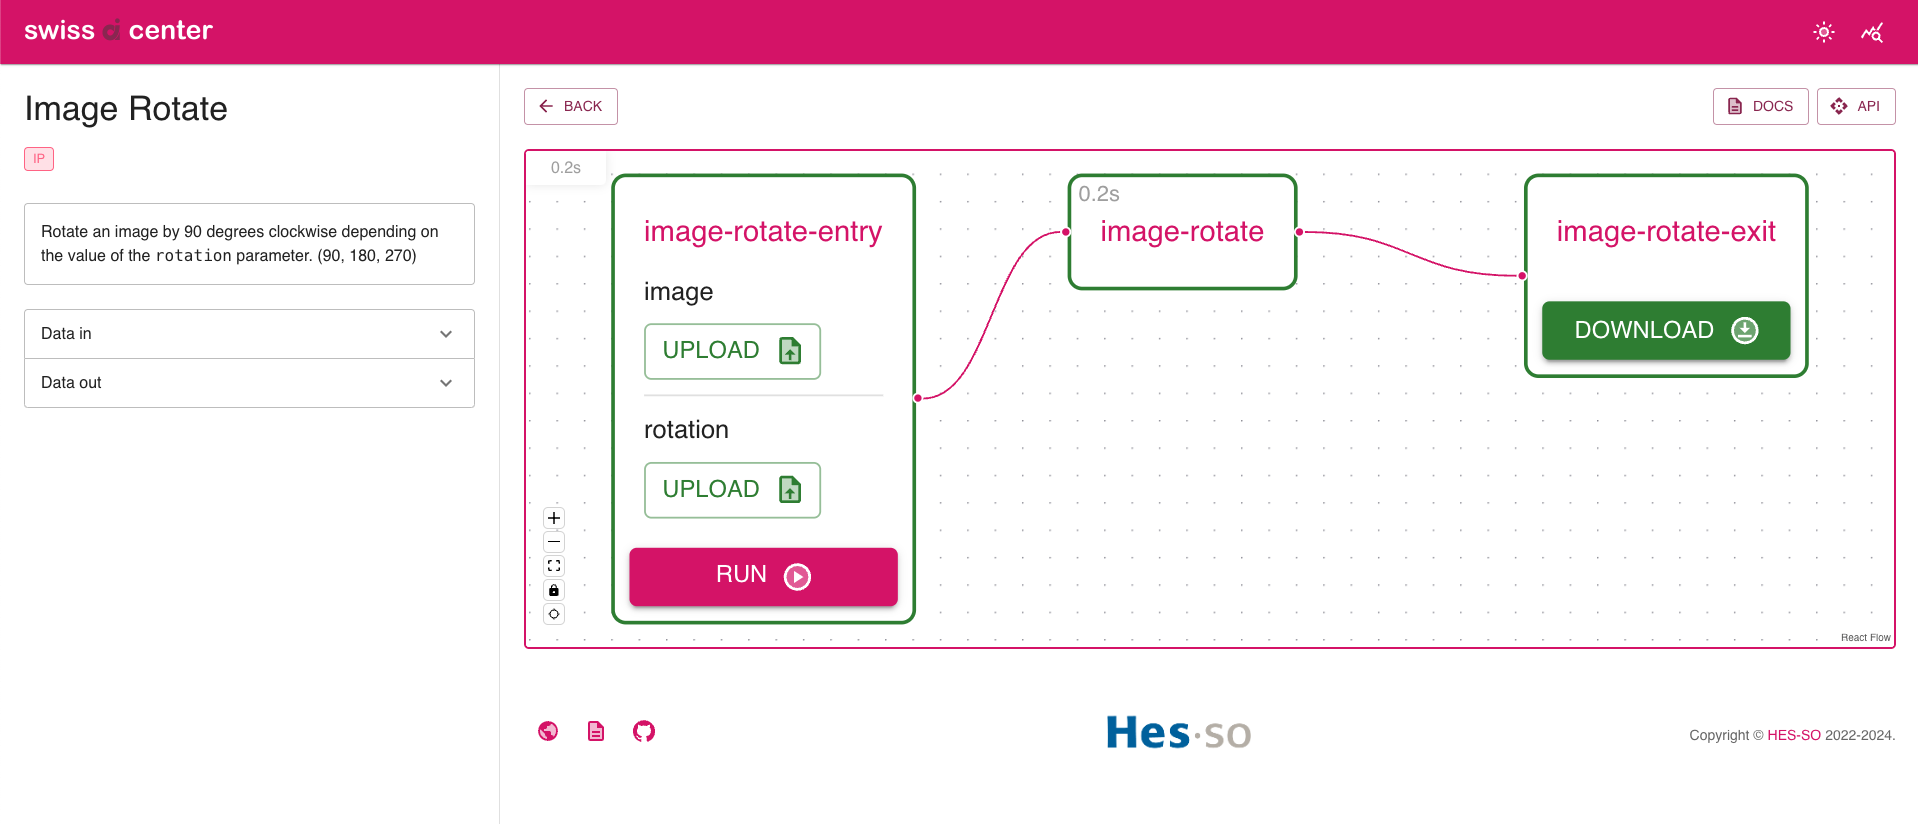
The image should be rotated by 90 degrees.
Access the Core engine at http://localhost:9090.
The service should be listed in the Registered Services section.
Start a new task
Try to start a new task with the service.
Unfold the /image-rotate endpoint and click on the Try it out button. Upload the image and the rotation file and click on the Execute button. The response body should be something similar to the following:
- The input data is stored in the
data_infield. - The output is not available yet and will be stored in the
data_outfield. - The task ID is stored in the
idfield.
Get the task status and result
You can then use the task ID to get the task status and the task result from the Tasks section.
- Click on Try it out and paste the id in the task_id field.
- Click on Execute.
- In the body response, if the status is
finishedfind thedata_outfield and copy the id of the image (e.g.a38ef233-ac01-431d-adc8-cb6269cdeb71.png). - Now, unfold the GET
/storage/{key}endpoint under the Storage name. - Click on Try it out and paste the id of the image in the key field.
- Click on Execute.
- Click on the Download file button and save the image in your computer.
The image should be rotated by 90 degrees.
You have validated that the service works as expected.
Commit and push the changes (optional)
Commit and push the changes to the Git repository so it is available for the other developers.
Build, publish and deploy the service
Now that you have implemented the service, you can build, publish and deploy it.
Follow the How to build, publish and deploy a service guide to build, publish and deploy the service to Kubernetes.
Access and test the service
Access the service using its URL (either by the URL defined in the DEV_SERVICE_URL/ PROD_SERVICE_URL variable or by the URL defined in the Kubernetes Ingress file).
You should be able to access the FastAPI Swagger UI.
The service should be available in the Services section of the Core engine it has announced itself to.
You should be able to send a request to the service and get a response.
Conclusion
Congratulations! You have successfully created a service to rotate an image.
The service has then been published to a container registry and deployed on Kubernetes.
The service is now accessible through a REST API on the Internet and you have completed this tutorial! Well done!